Adding an allowed website means that your child can always access that site, it’s never blocked. Very useful for making sure they always have access to educational websites that they need for school.
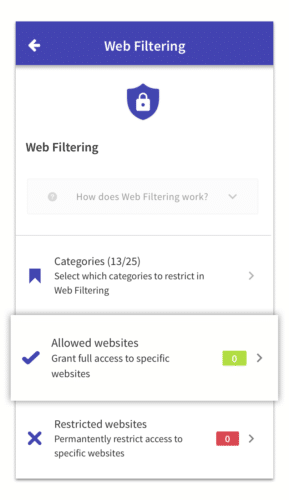
- Tap on the Web Filtering section of your child’s profile to open the settings and then tap on Allowed Sites.
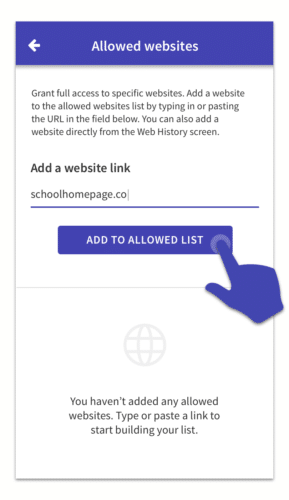
- Type in the name of the website you want to allow then tap on Add To Allowed List. You can only allow root websites not a specific page on a website, for example schoolhomepage.com is a root website, and schoolhomepage.com/test-exam-papers/ is a specific page.

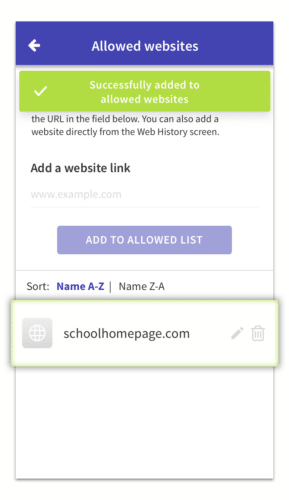
- You will see that website is added to the allowed list now. If you want to remove that website from this list in the future just tap on the delete button next to the website in the list.

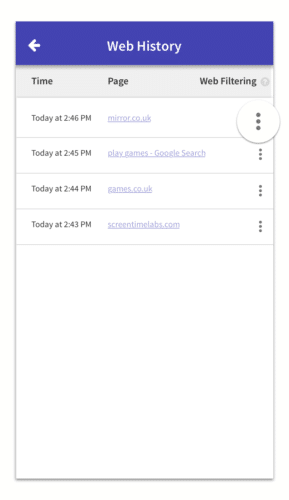
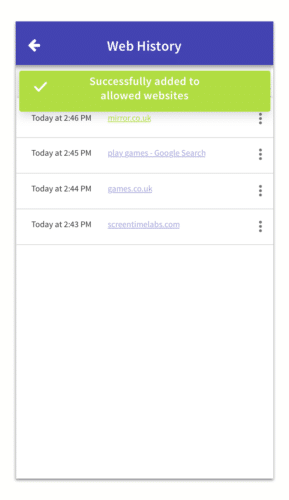
- You can also choose websites to allow directly from the Web History section, which shows website that have been visited. First tap on the 3 dots next to a website.

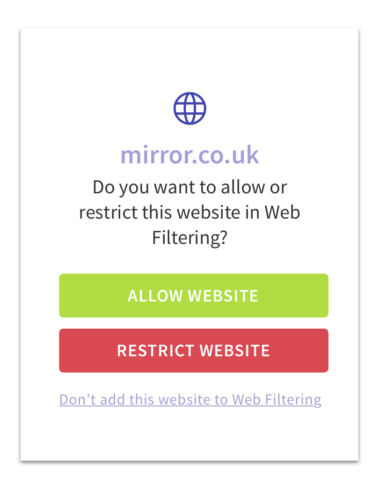
- Then choose Allow Website, and that website will be added to the allowed list.


